Friday, April 30, 2010

Hello Yellow

Okay. Maybe not yellow. I tend to wear more muted colors. But it sounded funny to my easily amused brain.

I was going to wait until tomorrow to introduce myself, but I just couldn't wait. ADD you see?

My name is Jessica, aka Kahlan's Mommy...

I'm 24 25, married to a frustratingly wonderfully loving man. We have a 2 year old little girl who is my favorite person in the world, and I am a SAHM to them both ;D

I first started sewing when I was about 7 or 8... I made (with Granny's help) a Christmas stocking out of some red and green lightweight corduroy... (Did I spell that right?) It is really cute, and still around. My mom has it and still hangs it up for me every Christmas...

Sewing comes and goes with me, as do all my hobbies including knitting, crochet, quilting, embroidery, baking, cake decorating, card making, and digital scrapbooking. I'll be totally devoted to one for a month or three, and then it's on to a different one for a while. (I told you I had ADD)

My most recent sewing/fabricy projects have included
  • a refashioned dress and buttercup bag for K out of a $0.10 ladies shirt I got at the thrift store
  • another buttercup bag out of a grey skirt (same store, same price...)
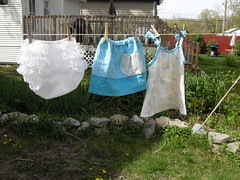
  • several spring dresses for K using patterns from ikat bag. (Lier is my HERO)
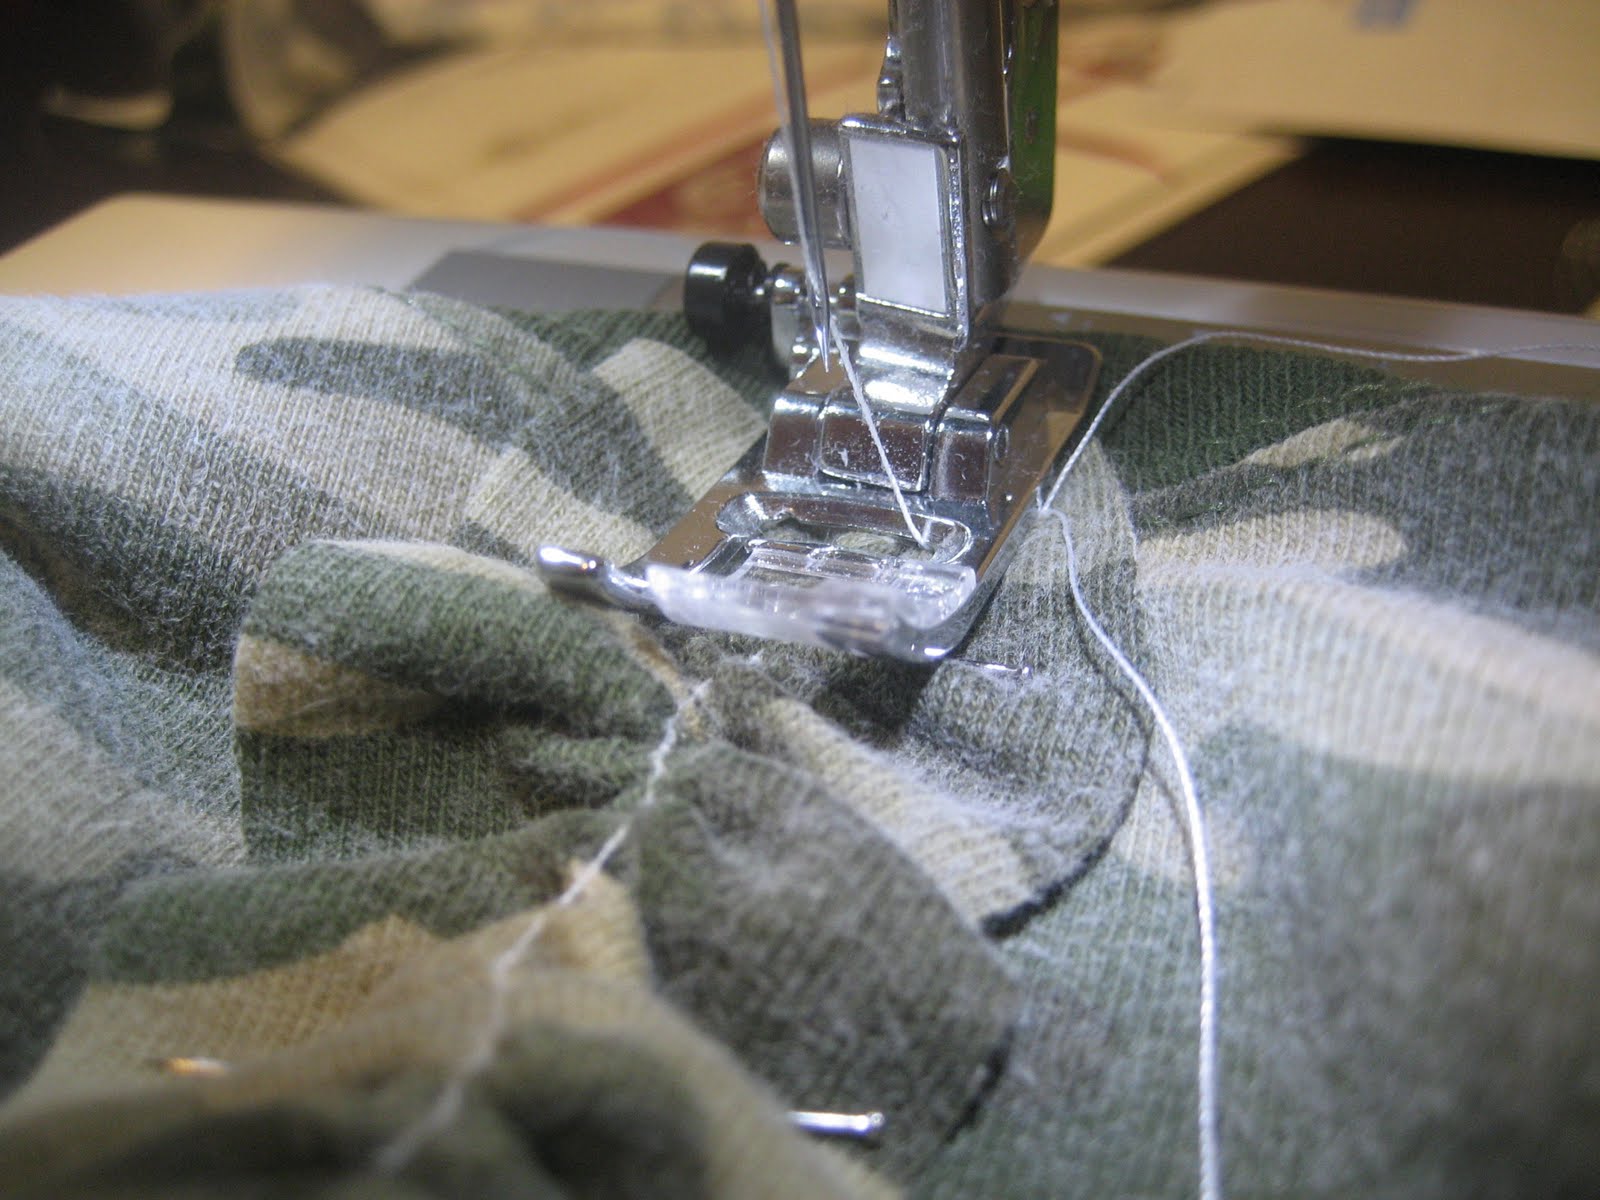
  • a refashioned skirt/pant combo for K out of an old long sleeved t-shirt
  • a pair of refashioned leggings out of another old long sleeved shirt, with matching appliques on a white onesie
  • about a dozen Morsbags, (plus a few matching potholders as Christmas gifts)
  • HAIRBOWS! LOL... I made 5 of the ladybug bows, but bigger, plus I copied a Christmas bow in black ribbon, and a big droopy double looped bow in black ribbon (I'm a touch gothy at times ;D )
Upcoming projects include
  • a me-sized denim blue cotton twirl skirt (5 tiers, not 3)
  • more dresses and clothes for K, including a pink shirt with white polka dots
  • some refashions/new sews for me
  • panties
Sewing is about to get a lot more fun... I've taken a 4 month'er at WR... thankfully the free was extended... I chose 4 months because that gets me through the summer and parks me right at the beginning of fall when it gets a lot harder to avoid buying clothes. (Skirts may be fine and dandy in the summer, but cold blooded me has to have pants in the winter and jeans patterns for someone my size and shape don't seem to exist)

Another nifty I found lately: Sew & Tell Fridays. Sew, photo, post, link, WIN. Schweet.

Anyway... enough chatter from me, this post is getting on about a mile long now...

Be sure to check out my blog too! (which is being revived from a long, long dormancy)

~Jessica

Rainbow ButtonsTop Burda 6/2005-106

P4100018 (2)

Yet another top from scratch. I used an old lady blouse found in one of the fabric boxes and some matching lighter remnants, both of unknown provenience.

P4300028 (2)

To make it fun I used buttons of different colors and metal thread topstitching.

P4300031 (2)

Ciao!

Barbara

Wednesday, April 28, 2010

Quick but fun freeform necklace


I had fun making this. I kept seeing really interesting freeform crochet necklaces on Flickr and just decided to give it a try. Now I'm already plotting colors and shapes for the next one... isn't that how it always goes? The center button is an antique boot button that a friend passed along to me. Here's how the necklace looks unfastened (awkward photo--hard to pose for the webcam and click "snapshot" at the same time):
The pink and black center element is on one side, the button and gold frill are on the other.

UPDATE 4/30: I went and made another one, in blue and turquoise. And I'm working on a third that's black, red, grey, and silver. I think I've found another pleasant addiction. ;)

Tuesday, April 27, 2010

Quick Fix!

I love "Bag Sales". Where I live there are two local churches that have rummage sales every spring and fall. All you can fit into a brown paper grocery bag for 3 bucks! Here's a super quick fix I did on a top I found at the sale for my daughter, Ruby. The top was a children's size 10. Ruby wears a size 6. I thought I'd have to do a little cutting and sewing till I realized there was old stretched out elastic in the back. So out with the old, in with the new!
10 to 6 Ruby Shirt
I simply put in a much smaller new piece of elastic which gathered up the extra fabric wonderfully. In the future I'll be able to replace the elastic with longer pieces till Ruby does wear a size 10.
10 to 6 Ruby Shirt
I did angle the straps slightly to prevent them from slipping off her shoulders but that required only a few hand stitches on each strap. I love it and so does Ruby.

Monday, April 26, 2010

I See London, I See France

I was putting away some laundry the other day and while sorting out Charlotte's underpants and socks I remembered that she needed some larger pairs. I looked at her old underpants and thought, hey I can make underpants. I have a bunch of knit fabric in my stash, plus old t-shirts from friends (my friends give me all of their old clothes, love you guys), and making a pattern is a piece of cake. So here's my underpants tutorial.


I like using pins to make a pattern. You don't have to destroy your old garment in the process and you don't need any special tools. Get an old cardboard box, break it up and fold it in half so that there are 2 layers of cardboard for you to work on. Grab some scrap paper or pattern paper and put in on the cardboard. Place your item, underpants in this case, and pin around each section. There were 3 sections total for the underpants (I love that word), front, back, and crotch. After you've pinned the section, remove the pins and garment and then cut around the pin holes adding a seam allowance.


Here are my 3 pattern pieces. I pinned each section separately and then cut them out, adding a 1/4 seam allowance. I actually made the pattern pieces bigger than the original because I wanted bigger underpants. Cut out 1 back piece, 1 front piece, and 2 crotch pieces from knit fabric or an old t-shirt.


Layer the front piece between the two crotch pieces, with the crotch pieces right sides in.


Here's another view of the fabric sandwich. Sew across.


Roll up your back piece as pictured above.


Roll up your crotch-front-crotch sandwich as pictured above.


 Sandwich your back piece between the two crotch pieces as pictured above, and sew.


Turn your fabric right sides out and it should look like the above picture. As you can see the back and front pieces are connected by the double layer crotch.


Add elastic to the waist and leg edges. I used a stretch lace, but any softer narrow elastic would work.


Here's the finished product, and 2 more pairs made from old t-shirts. I'm going to make at least 3 or 4 more pairs. They were really easy to sew.

Hope you liked it,

NinjaEema

Dowdy Sweater to Flirty Crop

This weekend we went to the American Legion rummage sale and this dowdy green 100% new wool sweater made in Ireland for approx 50 cents. I loved the color and the weave, but the wrist length sleeves and long body (with front pockets) make a fat figure look worse. The first thing I did was to cut it to about waist length. I folded the hem over and sewed it down. Next, I trimmed the arms about half-way up and repeated the hem process on those. This made an unexpected ruffle effect that I kind of like. I know wool is itchy so I lined the inside of the collar with a cream lace ruffle. I just folded and hand stitched it into place. It used a yard of vintage lace that came in a huge bag that I got for $2, so I'd approximate the cost at maybe 5 or 6 cents. The total cost of redoing the sweater comes to around 60 cents, and that's estimating high.


Saturday, April 24, 2010

Walkaway dress: Complete

Hey guys. I finished the walkaway dress. There are a couple of things I would still change. As we cinch it in quite tight the front pieces overlap which means only one piece of binding is visible. This really bugs me so next time I think I would bind it in the same material as the dress. Also I really need to make a slit for one of the ties to pass through as wrapping it over is a little bulky and again interferes with the way the binding is visible. However from a fitting point of view it is much much better. I could do with working on the darts but that is an ongoing thing with me. I need them but man I don't like them :o) So here is the finished dress. Please ignore the slightly wonky photo. I swear it is straight I was just tired and slouchy I think hehehe


For more pics please go here.

Jeans too small and the Garderobe!!

I couldnt pass up these Wrangler jeans at the market for 2 bux.....when i got home i tried them on, they fit great if i choose not to walk or sit.. WAH!!! so this is what I did

I cut a seam down the middle right through the waistband all the way down  to the hem

Found some black lace and sewed it to a strip of recycled denim,  the length of the jeans

While the seams were open I 'graffiti stitched" the legs

and now that ive added about 7cm 3inches i can move!!! and sit and jump!!!!

,
YAY yur welcome to come look at my blog ......the dodgy pics are there lol.....  http://bluemarvell.blogspot.com/
I was googling some medieval terms for a friend who is writing a book....and guess what I found
check out what a "garderobe" really is.... OH MY!!! LOL
http://www.castles.me.uk/rooms-in-a-medieval-castle.htm

Hi!

Well, I've just joined. Been reading some of your posts and cant wait to join in, although I'm not too good at taking before piccies of things!

I've been a member of the WR site on and off for a while, but have been looking round for something similar but not just for clothes, and I found you. I knit, crochet (but not too much) and sew absolutely loads. My poor machine has been on and off the dining table for weeks. I dont have a fancy machine, just a few basic stitches and years of getting used to it! My mum taught me to sew when I was about 6 or 7, and my gran taught me to knit. I am hoping now to pass on these skills to my children and grandchildren (but they're a bit young yet).

I am a mum of 4, but 2 are grown-up with kids of their own, 2 little 'uns at home and 3 grandchildren. Being a grannie is great, but I usually have to guess their sizes when making anything as their mum's dont seem to own a tape measure (maybe thats a good idea for Xmas!).

I am very proud to say that this year I have made a good 95% of my daughters summer wardrobe, either from scratch or using old clothes re-used. I am in the process of making myself a shirt-dress for an up-coming wedding, but I decided to alter the pattern slightly which wasn't too difficult. Unfortunately the material I bought is a big, erm, slippy and it has caused a few silent swear words. I'll post a piccie when its done.

Right, I'll stop rambling and looking forward to reading more of your items, sharing some of mine and generally being part of this great community.
Caroline :)

Friday, April 23, 2010

A little outfit

Here is a little outfit I made my 18mo.
Outfit for lily

I used a sheet, a tank top, a pillow case and some premade trim. :)


Pattern info is over on my blog

I also found a great vintage mumu and some fun vintage fabrics today!

Refashioned boyfriend shirt

One of my boyfriend's old shirts finally got refashioned into this cap sleeve shirt. I started last year, I guess. A seam now and then adds up and now we have a finished garment!

P4230014 (2)

I've cut away the sleeves and collar, unpicked the pocket, shortened the shirt and taken it in at the sides, rounded the bottom hem, cut and attached simple cap sleeves, binded the armscye and collar opening with bias tape, added the lace trim, attached the decorative but useful pocket, added new buttons - and it was done! All the trims and buttons were recycled.

P4230013 (2)

Ciao!

Barbara


Thursday, April 22, 2010

pillowcase dress

This is what I did today! I made it from a thrifted pillowcase.

As usual, details on my blog! Happy sewing!   Anne

Another Vest Dress


Yet again! another vest dress. This one is made from a vintage vest in black and silvery thread. Its got a lovely stretchy shirred waist. To this I attached a silk ruched skirt that has hankie hem. Both have the same diamond pattern on them and the skirt is lovely and swishy. Slowly but surely im getting some things to list in my etsy shop 'fluffnnonsense'.............watch this space!


Wednesday, April 21, 2010

getting ready for Me-Made-May

Hello Ladies! Today I put the finishing touches on a new blouse and skirt. I'm very pleased with both of them.

and my skirt,
 
I made the skirt from thrifted drapery fabric. Come visit me on my blog sometime! Happy day everyone!

walkaway dress: post 3

Hey guys. See the 3rd post on the walkaway dress here. ALmost done now.

Camo shirt with Ruffles

Last Wednesday I made this.

Today I spiced it up and made it even more girly!

I cut strips out of the sleeves and made them about 1.5" wide.


Used a straight stitch, but did NOT backstich so I could ruffle the strips.


I pinned it to the shirt


Then sewed it down and BACK stiched so my hardwork didn't come undone!


My model was taking a nap so I couldn't put it on her :o)


Hello Kitty Pillowcase

I made this pillowcase from some Hello Kitty fabric I got at Salvation Army for fifty cents.  It is so nice and soft now that I washed it up and the colors are nice and bright. It will be donated to charity.

Thanks for having me here!

Homemade Hair Clips

Now that my baby girl has enough hair, I am so excited that I can put clips in it! It helps to stop comments like, "Oh, how old is he?" To which I want to reply, "Oh, you mean the "he" in the pink dress?" People. If only everyone were perfect like me.=)

Okay anyway... I got a pack of alligator clips as Michael's and a pack of snap clips at the dollar store and yesterday I tried my hand as some girly hair clips. I love how cute they turned out and so super easy! All you need is ribbon and hot glue.

For this one I glued yellow ribbon on an alligator clip.  Then I took a thin strip of knit fabric, folded it in half (so the edges were both facing down) and rolled it.  Then covered the bottom in glue and stuck it on the clip.  Possibly my favorite so far! So bright and cheerful.

And this one...come on how stinkin' adorable is this?  Two pieces of red ribbon hot glued in a circle and a stripe of black at the top.  What was that...5 minutes?  So fun!
For this one I used my ruffle foot and sewed a stripe of material then wound it into a circle and added a vintage button.  Ohh, I'm on a roll and dinner might never get done=)

 
A few inches of black ribbon and one button later...I had a clip that was meant for Bella but...
was stolen by mamma=)  

Okay, if you have been wanting to try your hand at little girl clips - go for it!  It is so fun to see what you can come up with.  

Melissa 
of