

Showing posts with label refashion. Show all posts
Showing posts with label refashion. Show all posts
Thursday, July 26, 2012
Frankendress


Wednesday, May 18, 2011
Pintucks in corduroy?

This skirt was waaay too big, and dull. You can see where I had put a box pleat in the front but I didn’t like it very much so I unpicked it and started again.

I saw this idea in Sew Subversive and thought it might work even though the cord is very bulky.

I kinda like it. I sewed the pintucks down with contrast stitching so they face the middle and yeah, it is a little bulky but I much prefer it to how it was before. I might dye it a more chocolatey colour too because it is at the mousey grey end of the brown spectrum.

Beccy from Wipster
Thursday, February 17, 2011
The Bookshop Bag with PDF pattern download
I know I haven't posted anything in a while and that's becuase I haven't really made anything in a while!

I decided to make a bag out of some fabric salvaged from an old men's suit jacket that I bought at an estate auction. Actually I got an entire closet of handmade vintage wool suits for $2.50. lol I used some scrap for the liner, two free buttons and some trim that a friend gave me. I'd say maybe the whole thing ended up costing about 60 cents.
I liked it so much that I made a free downloadable PDF pattern. You can get it on my blog!
Monday, November 1, 2010
Thrifty man’s shirt refashion with a mini tutorial
I made this cute shirt-for-that-meeting-with-HR-I-have-next-week…

…from this big old man’s shirt.

If you’d like to see how I did it pop by my blog, Wipster and say hello!
Beccy
Wednesday, September 29, 2010
ahoy there me hearties!!!
Hubby hates skull images/drawing/gothic stuff but me love it so much. Skull with red, navy and stripes will instantly bring you to the pirate world, or is it just me because I had too much Captain Feathersword on my daily dose?? :)
Last night I managed to make a pirate tee for my toddler girl (and I think it's wearable for toddler boy too).. I don't know how hubby will react when I put this on his little girl :D

Thursday, August 26, 2010
first handmade onesie!!

Have you ever heard "Can't find it, Make it?". I have and I did after months of hunting 2T-3T onesie for my 20mth girl. I used my old slevelees tee, color coordinating binding from cotton knit purchased from opshop, snap buttons and spent 2 hours (dont have overlocker). Pretty happy with the result and definitely will make some more :)
More refashion projects on my blog.
Wednesday, June 9, 2010
Doona to a dirndl and thrifty red skirt
Hi and thank you so much for allowing me to join this community.
I'm so glad to meet you all and look forward to this being the 'sew retro' of the refashioning world !
My name is Lore and i blog over at sew red hot. I sew clothes / aprons / quilts / potholders / bags. You name it. I'm obsessed!
I have two things to share today. My refashioning of a doona cover found in a charity shop.
 Into a cute summer dirndl:

Total cost $3.75.
Blogged here
I have a whole side of the mauve/lilac fabric from the doona cover left over. If you live in Sydney visit me and it'll be yours. If you live in the United States - hey there's a big drive on to come to Australia for a holiday - pop into Sydney and I'll take you and show you the sights and you can take home half a doona in your luggage! If I get no takers, I suppose it will be good material for a toile/muslin for a tricky pattern.
And my op shop fabric find for $2.50 some great red cotton and lilac lining.


This is blogged here.
So that's my introduction. Again, nice to meet you and hope to be seeing a lot of you and your creations.
And a big thanks and congratulations to Ninjaeema on this Garde Robe baby and also the upcoming baby!
lore
x
I'm so glad to meet you all and look forward to this being the 'sew retro' of the refashioning world !
My name is Lore and i blog over at sew red hot. I sew clothes / aprons / quilts / potholders / bags. You name it. I'm obsessed!
I have two things to share today. My refashioning of a doona cover found in a charity shop.


Total cost $3.75.
Blogged here
I have a whole side of the mauve/lilac fabric from the doona cover left over. If you live in Sydney visit me and it'll be yours. If you live in the United States - hey there's a big drive on to come to Australia for a holiday - pop into Sydney and I'll take you and show you the sights and you can take home half a doona in your luggage! If I get no takers, I suppose it will be good material for a toile/muslin for a tricky pattern.
And my op shop fabric find for $2.50 some great red cotton and lilac lining.


This is blogged here.
So that's my introduction. Again, nice to meet you and hope to be seeing a lot of you and your creations.
And a big thanks and congratulations to Ninjaeema on this Garde Robe baby and also the upcoming baby!
lore
x
Sunday, June 6, 2010
Favorite Jeans Reborn
Old jeans ripped at the knee:

A little refashioning imagination:

New skirt:

The tutorial can be found here on my blog. Come join in the fun; another blogger and I are having a denim skirt challenge - show us your creative side!

A little refashioning imagination:
New skirt:

The tutorial can be found here on my blog. Come join in the fun; another blogger and I are having a denim skirt challenge - show us your creative side!
Sunday, May 16, 2010
Cardigan refashion from Hazelnuts
It's taken me ages to post over here but at last I have something to say so here I am! I'm Jacqui from Hazelnuts. I've been participating in Elsie Marley's Kid's Clothing Week Challenge and did this cardigan refashion for my daughter as part of that.
------------------------------------------------------------------
My daughter Hazel's size 110cm (about a 5T) cardigan.

Originally it looked like this:

I see that the original photo was taken way back in October last year so it's taken me awhile to get around to it! I was inspired by a clever cardigan refashion by Tiny Happy who told me it wasn't that hard and actually it wasn't! This is what I did:

Mat thinks the buttons are a bit OTT but the originals were so... late '90s know what I mean? The only problem I ran into was that the original facings overlapped more than I'd assumed they would so I had to shift the buttons way over to the edge so the right ruffle there wasn't covered over!
The flower was made from a tutorial at Pink Paper Peppermints that I found via a lovely little dress on My Sewing Circle. It's on a bit of felt attached to a pin. This is the one I prefer; but I had made a smaller one from the stripy fabric that Hazel likes best so she can have that one on it (too matchy for me!) and I'll have the photograph and the memories...

------------------------------------------------------------------
My daughter Hazel's size 110cm (about a 5T) cardigan.
Originally it looked like this:
I see that the original photo was taken way back in October last year so it's taken me awhile to get around to it! I was inspired by a clever cardigan refashion by Tiny Happy who told me it wasn't that hard and actually it wasn't! This is what I did:
- Cut off the sleeves and tried it on Hazel and pinned where I thought the shoulder seam/side seams would be.
- Unpicked the neck facing or whatever it was called. I managed to get the overlocker seam to unravel by pulling random threads (is there a trick to knowing which one to pull? I only ever find it by accident or when it's unravelling clothing I want to wear in which case it's very easy). This meant that, except in a couple places where I nicked it, the edges didn't unravel. I undid the facing along the back and on the front just past about where I thought Hazel's shoulder seam would be.
- Found a shirt pattern for a V-necked button-front shirt and matched the pattern pieces for the arm area and arm to the pinned positions as best I could. I do wish, however, that I'd had a good cardigan pattern to work from that was designed for knits as this one ended up being too big and the cardigan needs taking in.
- Cut the pieces out and resewed with an overlocker. After I tried it on Hazel I discovered it was fine along the neckline despite being too big around, so I went ahead and attached the neck facing and added the ruffle and buttons. I sewed the ruffle on with a twin needle to give it a bit of stretch along with the knit neckline. I tore the ruffle in long strips from the fabric so it still has the raw, slightly fluffy, edge.
Mat thinks the buttons are a bit OTT but the originals were so... late '90s know what I mean? The only problem I ran into was that the original facings overlapped more than I'd assumed they would so I had to shift the buttons way over to the edge so the right ruffle there wasn't covered over!
The flower was made from a tutorial at Pink Paper Peppermints that I found via a lovely little dress on My Sewing Circle. It's on a bit of felt attached to a pin. This is the one I prefer; but I had made a smaller one from the stripy fabric that Hazel likes best so she can have that one on it (too matchy for me!) and I'll have the photograph and the memories...
Monday, May 10, 2010
Dress & Cardi


Hello my people!! I haven't posted for a while, too busy fluffing about!. Have a whole heap of half finished bits and pieces and a HUGE stash of op shop finds waiting to be "reconstructed/deconstructed.
The crochet top (now cardi) is in the yummiest shade of cranberry. I cut it down the front and added a mens paisley tie that ive zigzaged and rouched till it made a lovely frilly type edge on the cardi. The photo isnt much chop coz my husband reluctantly took the photo (hes not talking to me because i got grumpy at him..............long story, we wont go there!!)
The other photo is my gorgeous friend Karen modeling a "work in progress" denim dress that was previously a pair of jeans and a mens tie. This will be in my Esty shop which is NOW OPEN!!!! arrrgggghhhh YAY!! fluffnnonsense.etsy.com CHECK IT OUT. xx Kel
Sunday, May 9, 2010
mother's day project
I had some free time today, and this is what I made,
 A non-slip baby changing pad! And I did this on Friday,
 Come see me at my blog for more details and how to's! Thanks, and happy mother's day to all! Anne


Tuesday, May 4, 2010
Why Hello There
Well Im a bit late on the introductions but better late than never.
Im Angie. Im a twenty something nursing student from Az. I blog at SewIThought.com
Here's my first project.

I got this dress from a thrift store a couple months ago for a buck. I liked the print but obviously it wasn't gona work without some real effort.

The drop-waist style added a bit of difficulty if I wanted to keep this as a dress so instead I cut it in half and made one elastic waist skirt and one sleeveless blouse.

Now I have two pieces that can be worn separately or together. Endless possibilities!!

You can see more on my blog. I am having a giveaway this week so come on over and add your input!!
Saturday, May 1, 2010
Kimono PJ's and an Appliqued Dino

I managed to finish the pj shorts I was planning for my son. I bought the fabric originally to make him a banner for his birthday. I bought a little extra, but I wasn't sure what I would make out of it. I revisited my kimonos thinking about summer pajamas for my boy. The ties/trim were some bias tape I bought at the thrift store. I used a thrifted pattern for the shorts and cut out the pieces last week. Being the airhead that I can be sometimes, I didn't realize they included pockets (not really important for pj's), so when I went to sew them today, I had to cut the pockets out of an old t-shirt. Plus, I used my serger for the first time! I did pretty well, and now I'm motivated to take it to more adventurous projects. Oh, I used the blind hem stitch for the first time using my regular machine. Stay tuned for some more pj's and a robe, too. (I've started them.)

The dinosaur shirt was a 75cent find at the thrift store. I added the applique. You can see a pretty lame tutorial I did for them here. Fun! And, they're great for covering up spots on your kid's clothing.
Peace, Tamara
Saturday, April 24, 2010
Jeans too small and the Garderobe!!
I couldnt pass up these Wrangler jeans at the market for 2 bux.....when i got home i tried them on, they fit great if i choose not to walk or sit.. WAH!!! so this is what I did

I cut a seam down the middle right through the waistband all the way down to the hem

Found some black lace and sewed it to a strip of recycled denim, the length of the jeans

While the seams were open I 'graffiti stitched" the legs

and now that ive added about 7cm 3inches i can move!!! and sit and jump!!!!
, 
YAY yur welcome to come look at my blog ......the dodgy pics are there lol..... http://bluemarvell.blogspot.com/
I was googling some medieval terms for a friend who is writing a book....and guess what I found
check out what a "garderobe" really is.... OH MY!!! LOL
http://www.castles.me.uk/rooms-in-a-medieval-castle.htm
Friday, April 23, 2010
A little outfit
Here is a little outfit I made my 18mo.

I used a sheet, a tank top, a pillow case and some premade trim. :)
Pattern info is over on my blog
I also found a great vintage mumu and some fun vintage fabrics today!
I used a sheet, a tank top, a pillow case and some premade trim. :)
Pattern info is over on my blog
I also found a great vintage mumu and some fun vintage fabrics today!
Thursday, April 22, 2010
Another Vest Dress

 Yet again! another vest dress. This one is made from a vintage vest in black and silvery thread. Its got a lovely stretchy shirred waist. To this I attached a silk ruched skirt that has hankie hem. Both have the same diamond pattern on them and the skirt is lovely and swishy. Slowly but surely im getting some things to list in my etsy shop 'fluffnnonsense'.............watch this space!
Wednesday, April 21, 2010
getting ready for Me-Made-May
Hello Ladies! Today I put the finishing touches on a new blouse and skirt. I'm very pleased with both of them.
 and my skirt,
 I made the skirt from thrifted drapery fabric. Come visit me on my blog sometime! Happy day everyone!


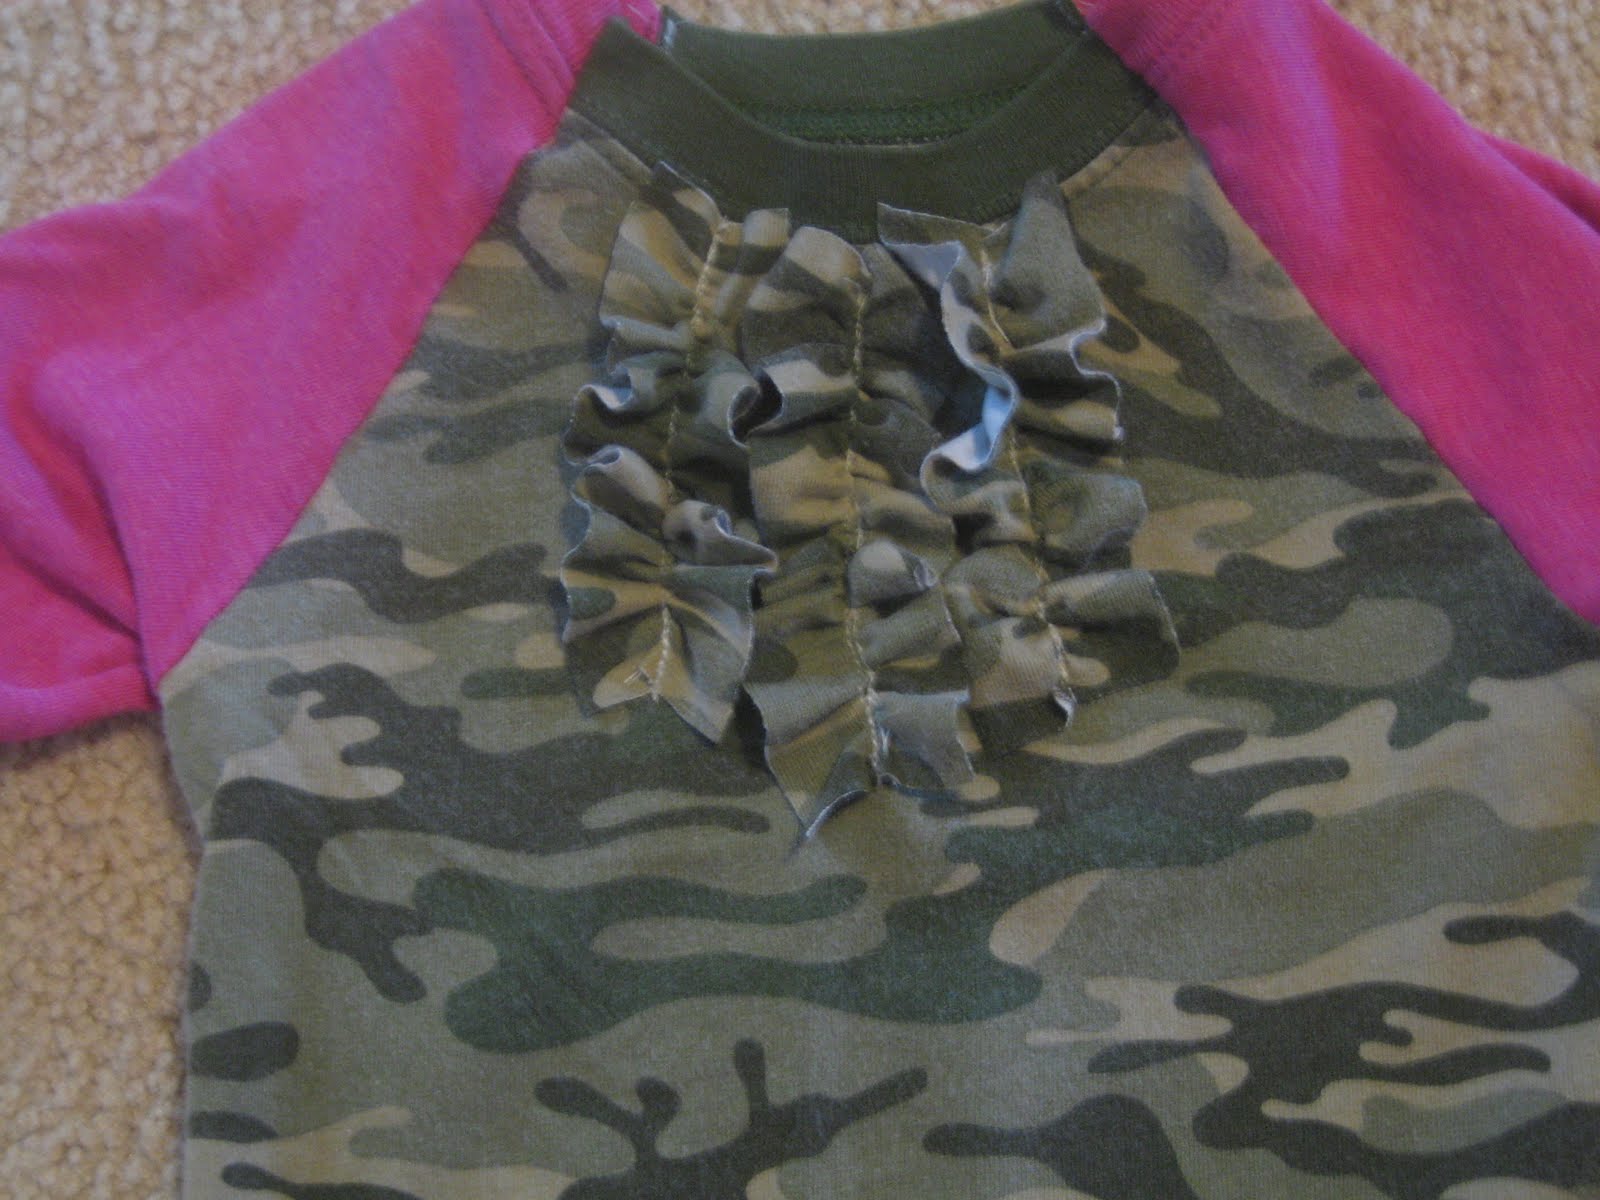
Camo shirt with Ruffles
Last Wednesday I made this.
Today I spiced it up and made it even more girly!


Today I spiced it up and made it even more girly!
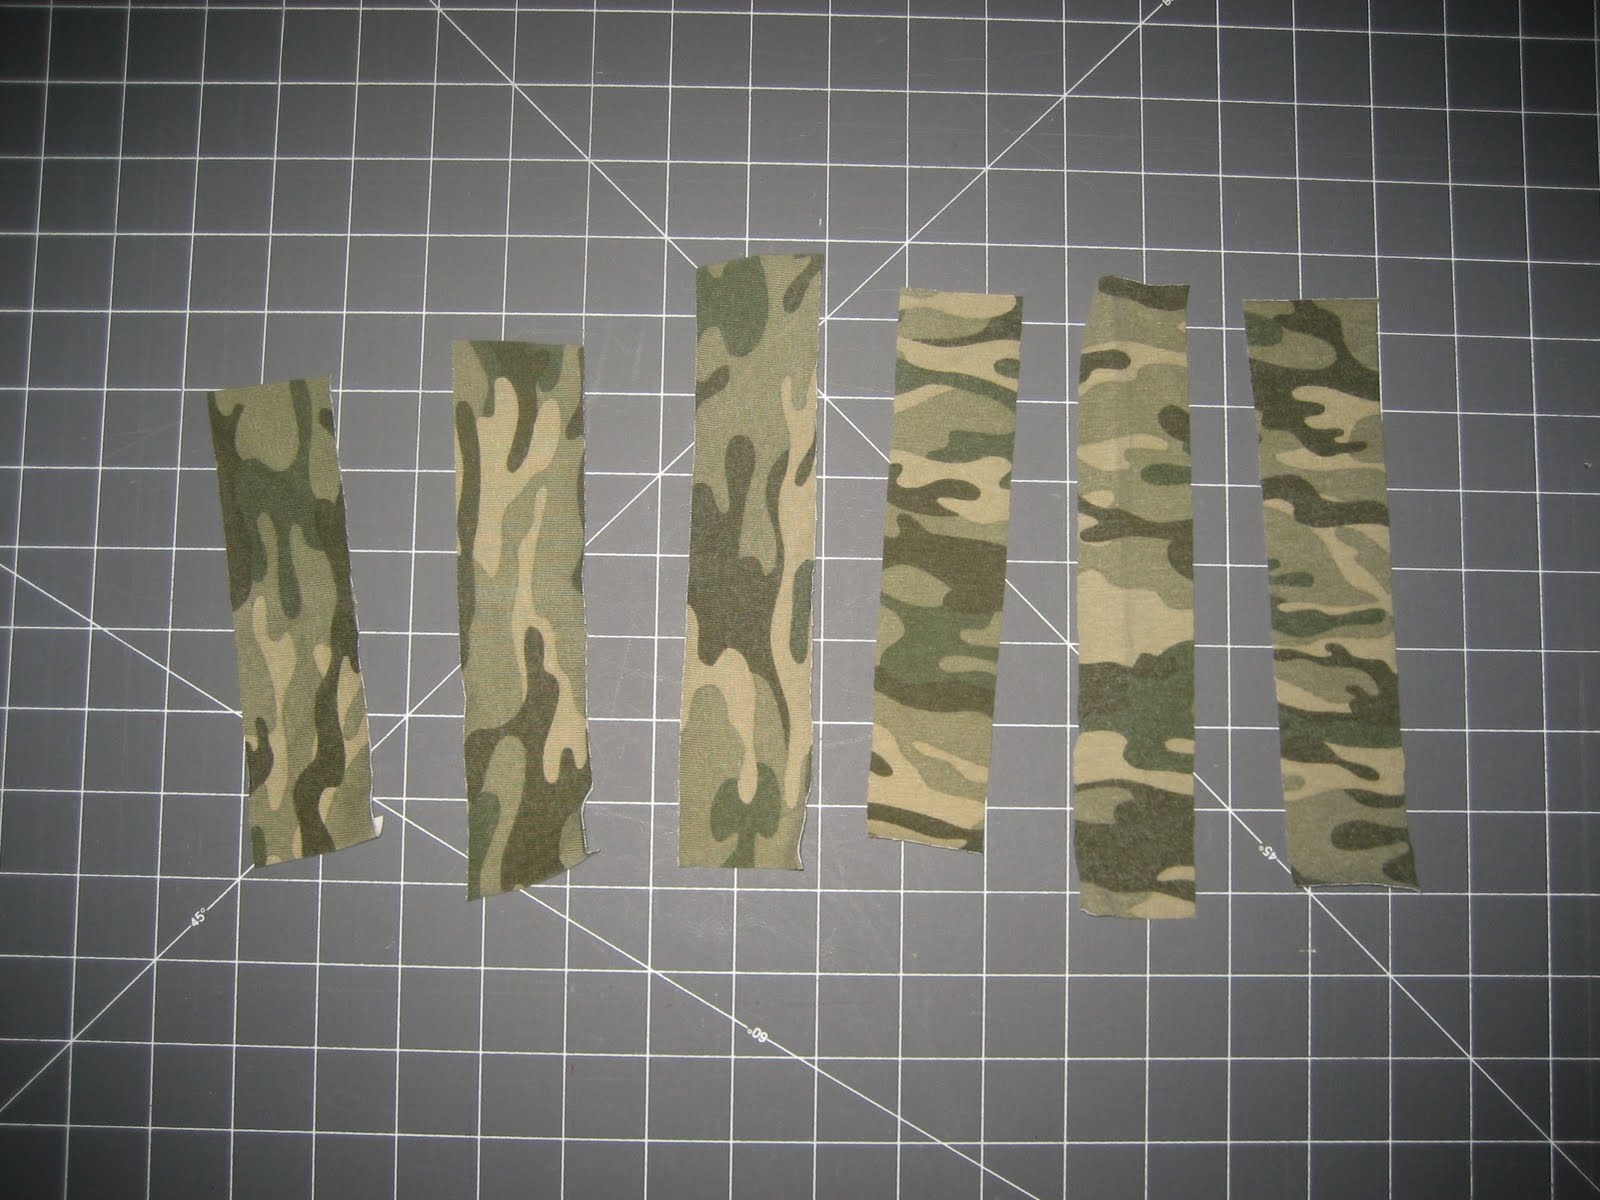
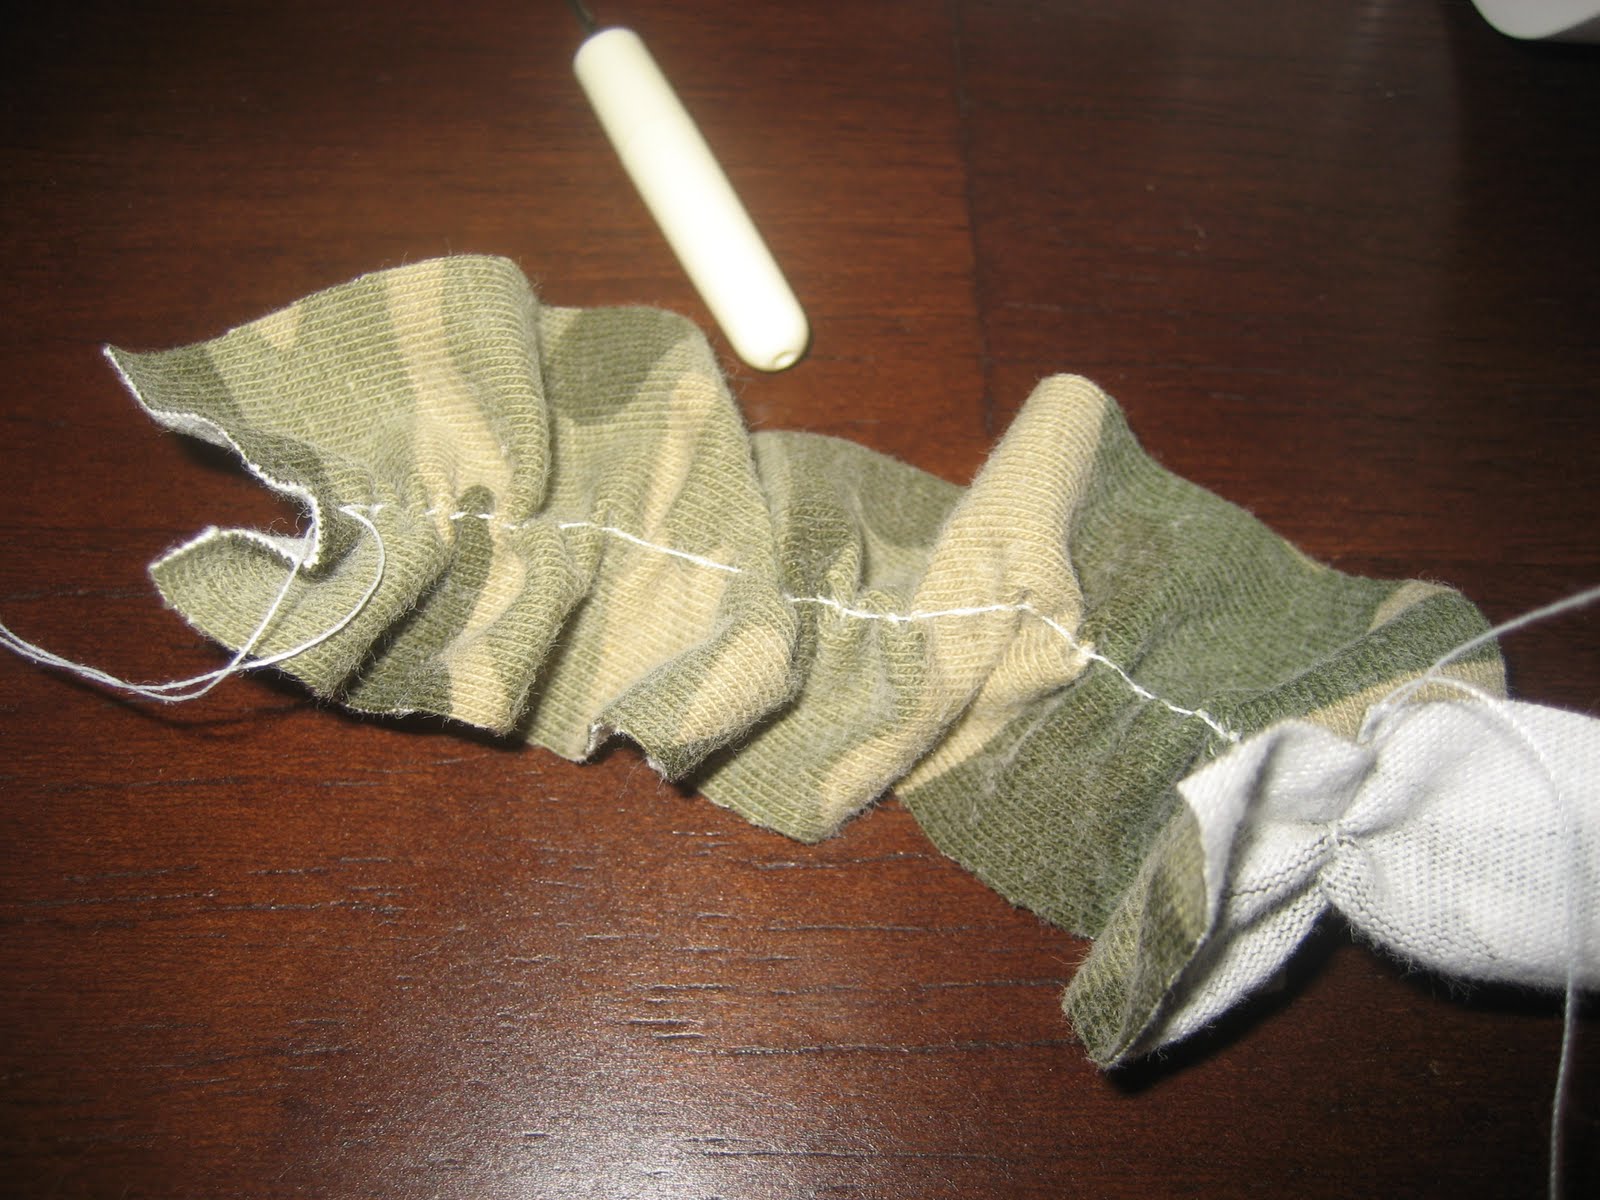
I cut strips out of the sleeves and made them about 1.5" wide.
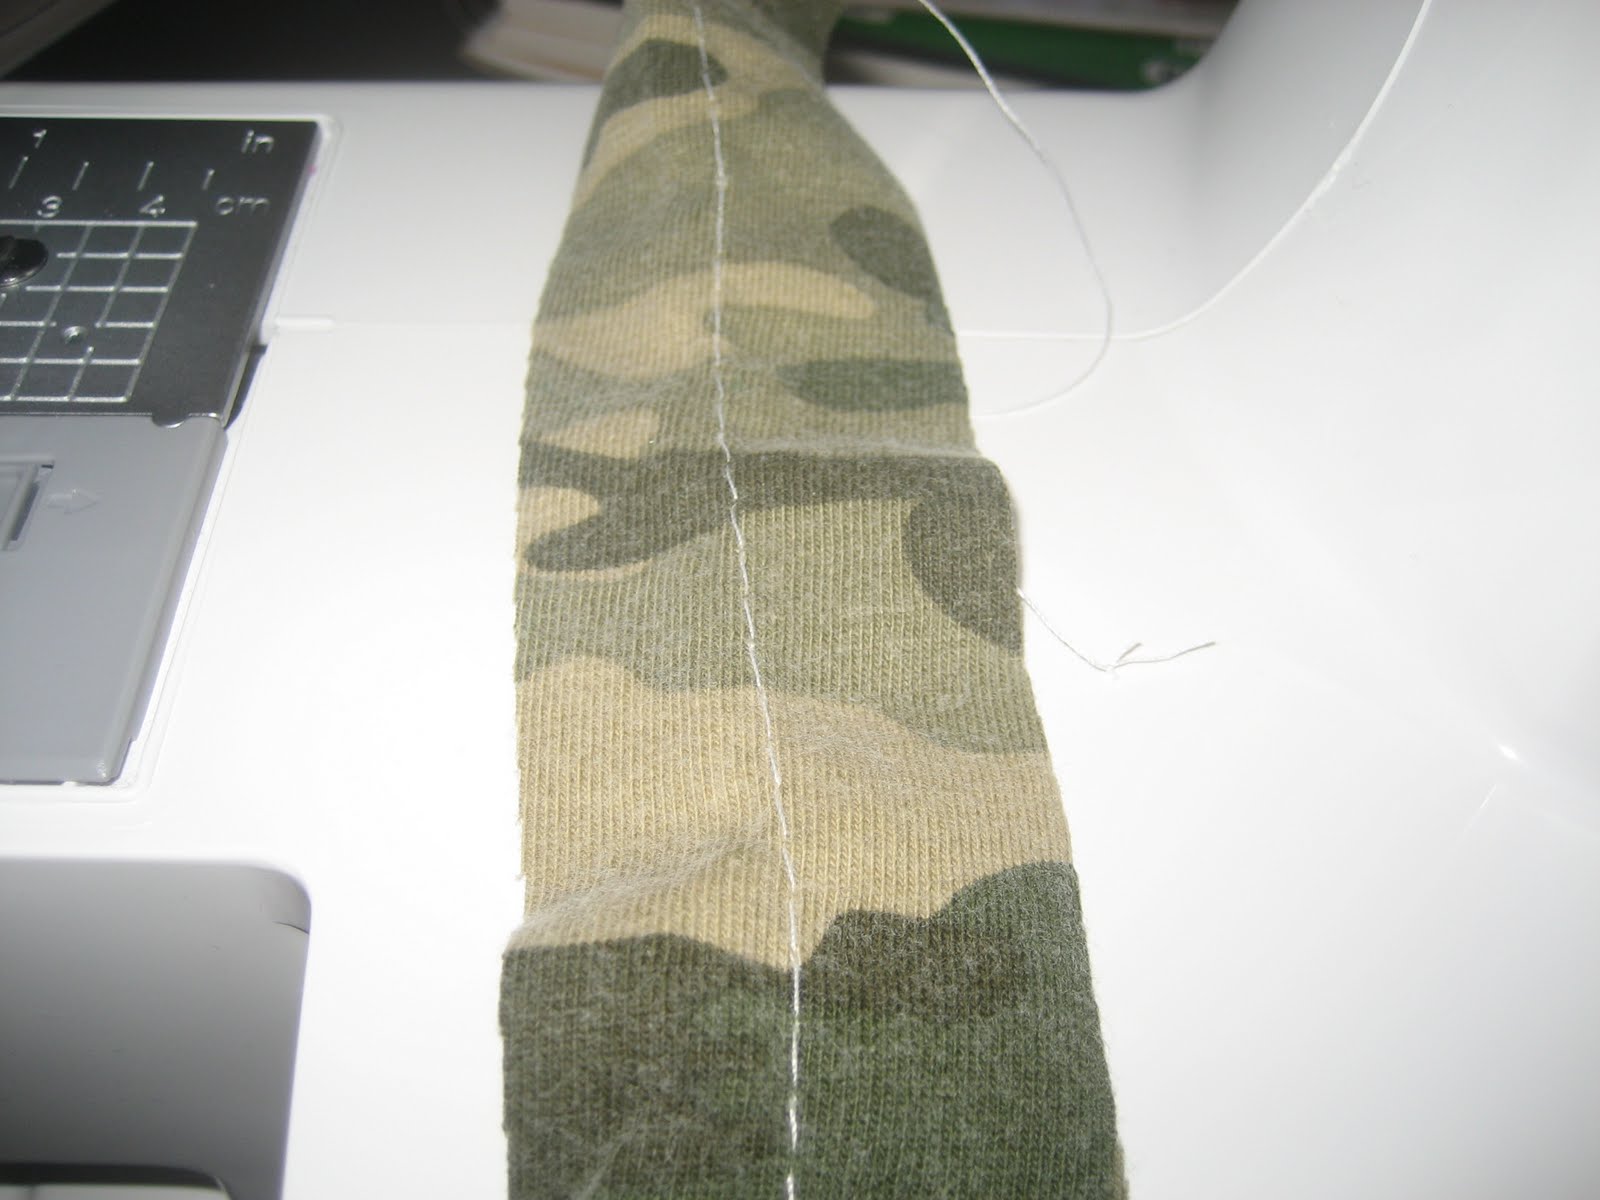
Used a straight stitch, but did NOT backstich so I could ruffle the strips.
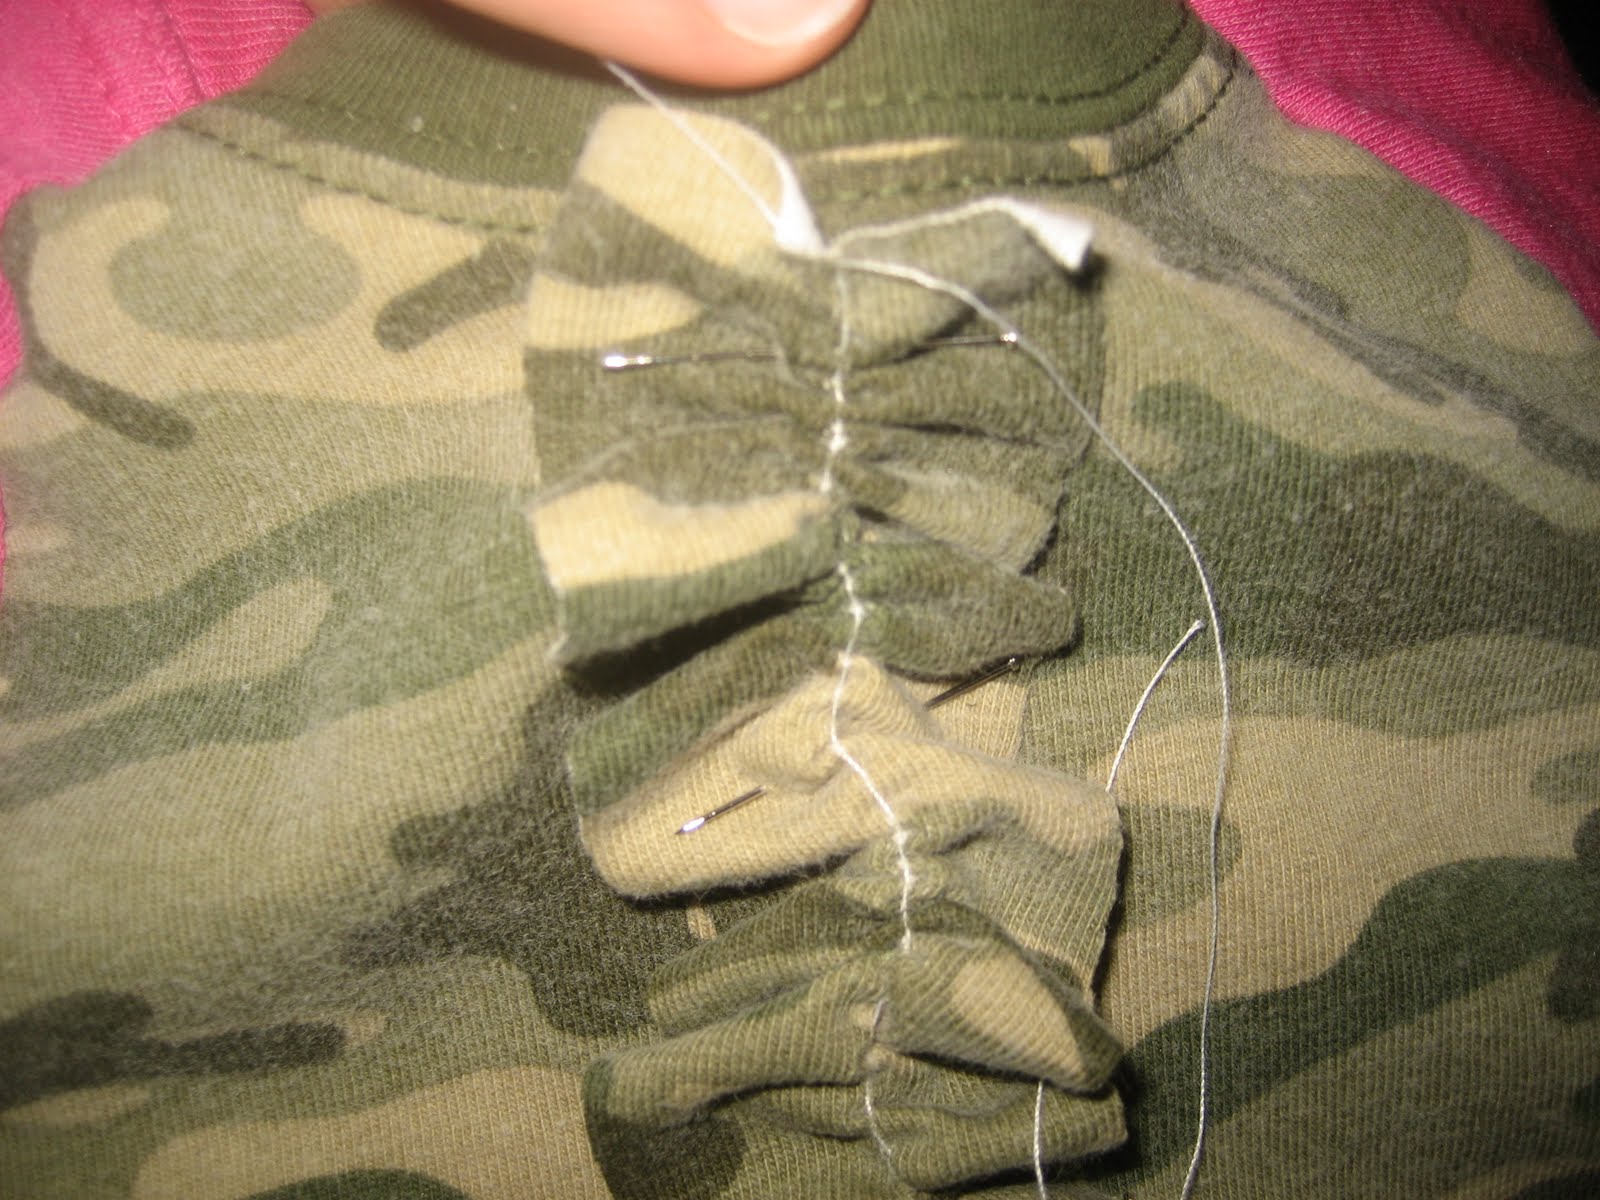
I pinned it to the shirt
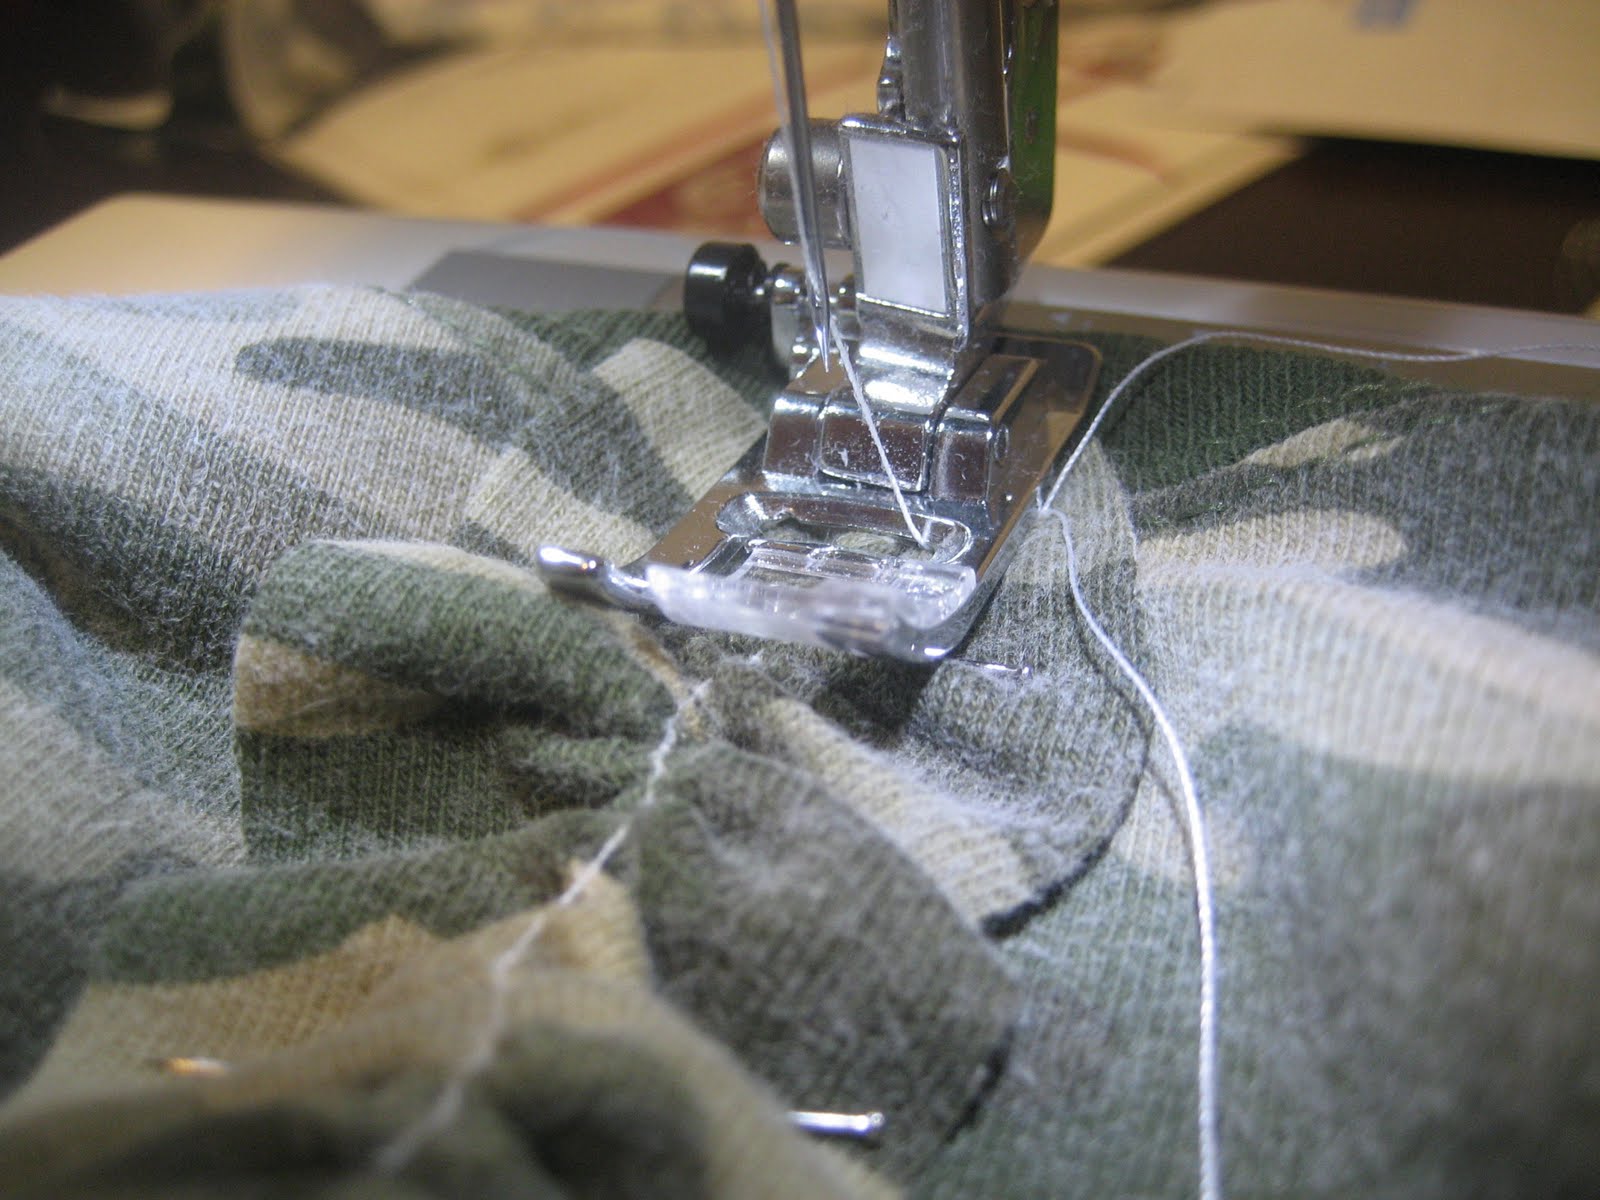
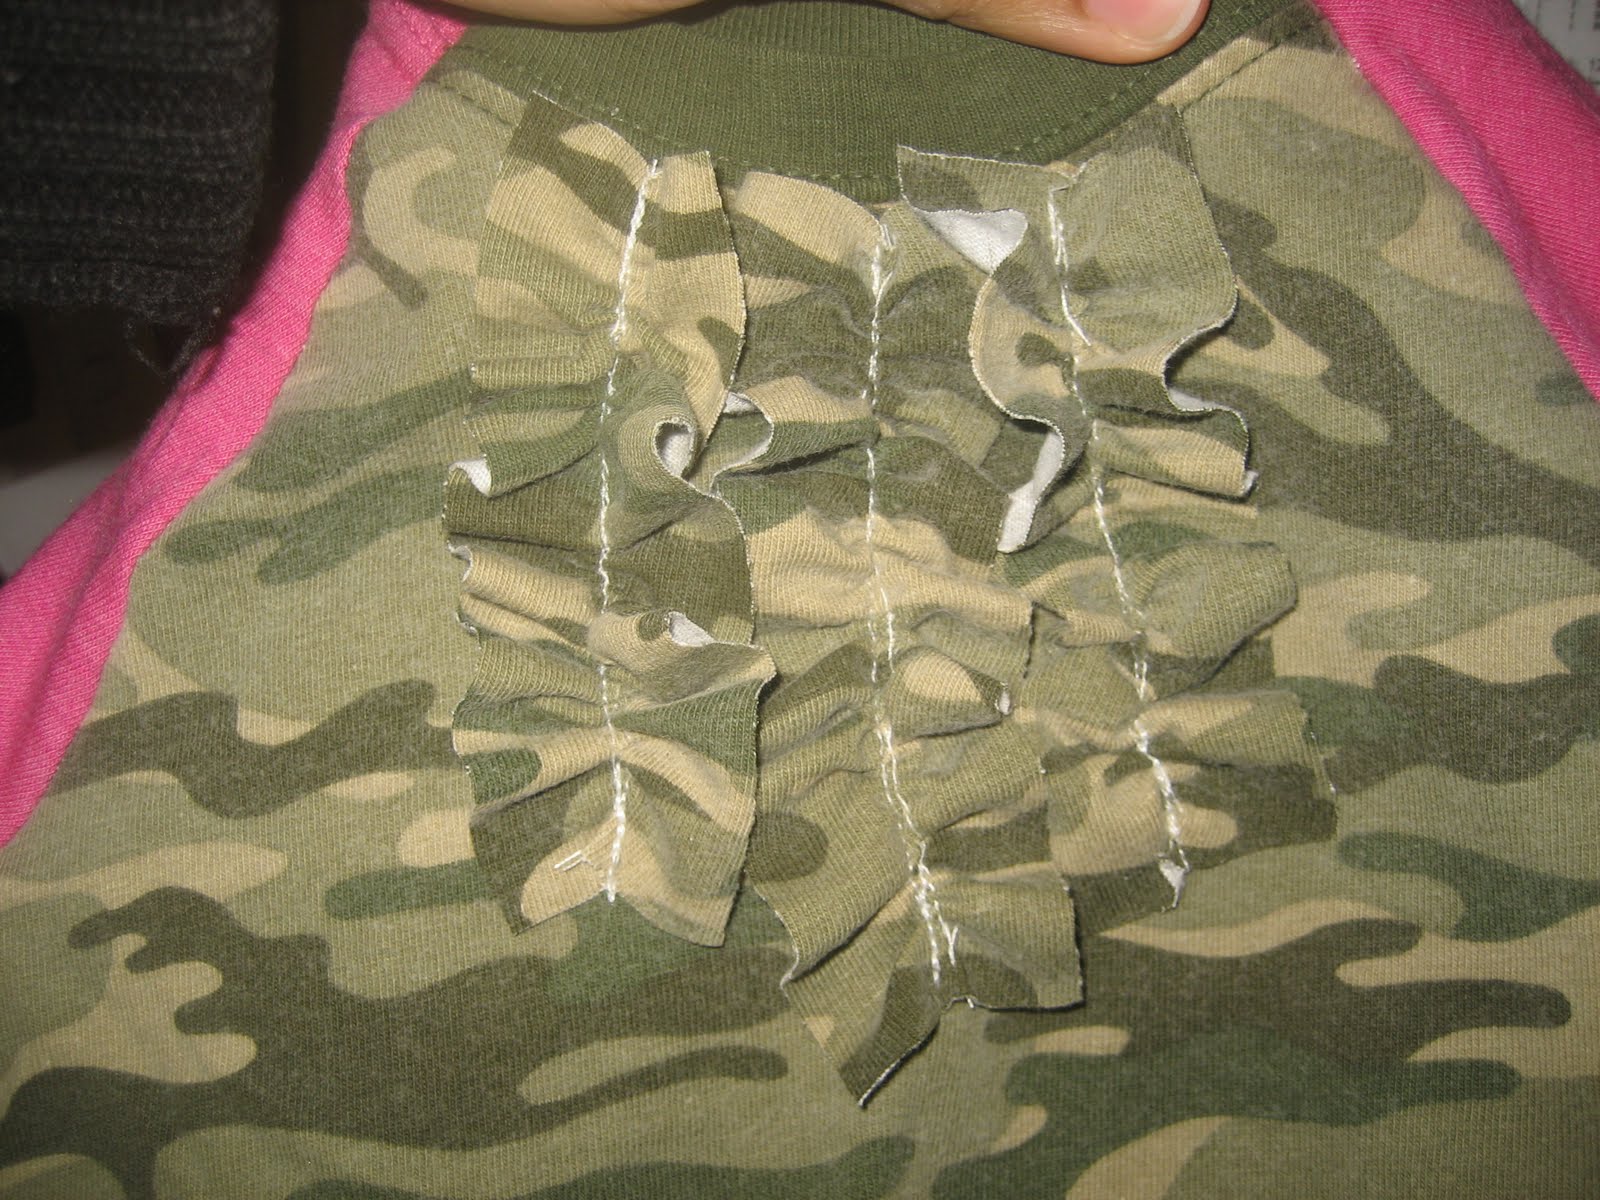
Then sewed it down and BACK stiched so my hardwork didn't come undone!
My model was taking a nap so I couldn't put it on her :o)
Subscribe to:
Posts (Atom)

 Posts
Posts


